Image via Pexels user Abby Chung.
IMPROVING ANIMATION: WHAT TO FOCUS ON
Working on projects across different genres, I've noticed common patterns in mistakes. In this article, I would like to discuss the characteristics of these mistakes and their solutions. Each of the points below is briefly described, as ideally, it's best to elaborate on them in separate articles.
Clear Workflow Pipeline: Harder, Better, Faster, Stronger
Let's start with the basics. To avoid problems in working with animation, it's necessary to follow a clear structure, exemplified by character animation:
Preparation. Study the character's backstory, personality, and stylistic features. If possible, discuss the character's poses with the Art Director or Art Team Lead, having prepared a couple of thumbnails or sketches beforehand. A plus of this stage is that it can be done quite quickly. I highly recommend recording yourself on video to understand the transitions between poses. I also usually ask my colleagues or friends to act out the situation I need to animate. Trust me, you can get the most unexpected variants! New to my process, I've started using AI tools for finding pose ideas. It looks quite unusual, but you can glean many unconventional ideas.
Basic Blocking. Create the character's poses, turning off all additional elements (hair, clothing elements, etc.). Use stepped interpolation: we don't work on in-between frames. Don't settle on one version, make at least three variants of the key pose based on it and discuss with the art manager. The main thing is not to forget to rely on references from the preparation stage! The silhouette must be clear.
Blocking Plus. Add breakdowns between keyframes, create entry and exit into poses. Work on arcs, create poses preparing for action. Arrange the keys in such a way that the timing is appropriate. Still no interpolation!
Splines. Only when all poses have been approved by the art manager or lead animator, can start using interpolation. Actively work with the graph editor, adjust the curves. Control the timing. Start with the main parts of the body (pelvis, upper body), gradually moving to smaller parts. Important: it's worth returning to the blocking stage to check yourself. Sometimes at the spline stage, the scene's dynamics can be lost, becoming too fast or too slow.
Polishing and Export. Only at this stage do we add overlaps to hair, clothing, and other parts. Until this stage, it's best to turn off additional elements.
It's very important: in animation, good preparation accounts for 60-70 percent of the work. There's always the temptation to rely on your experience and skip this stage, but it hinders professional development and the quality of your work.
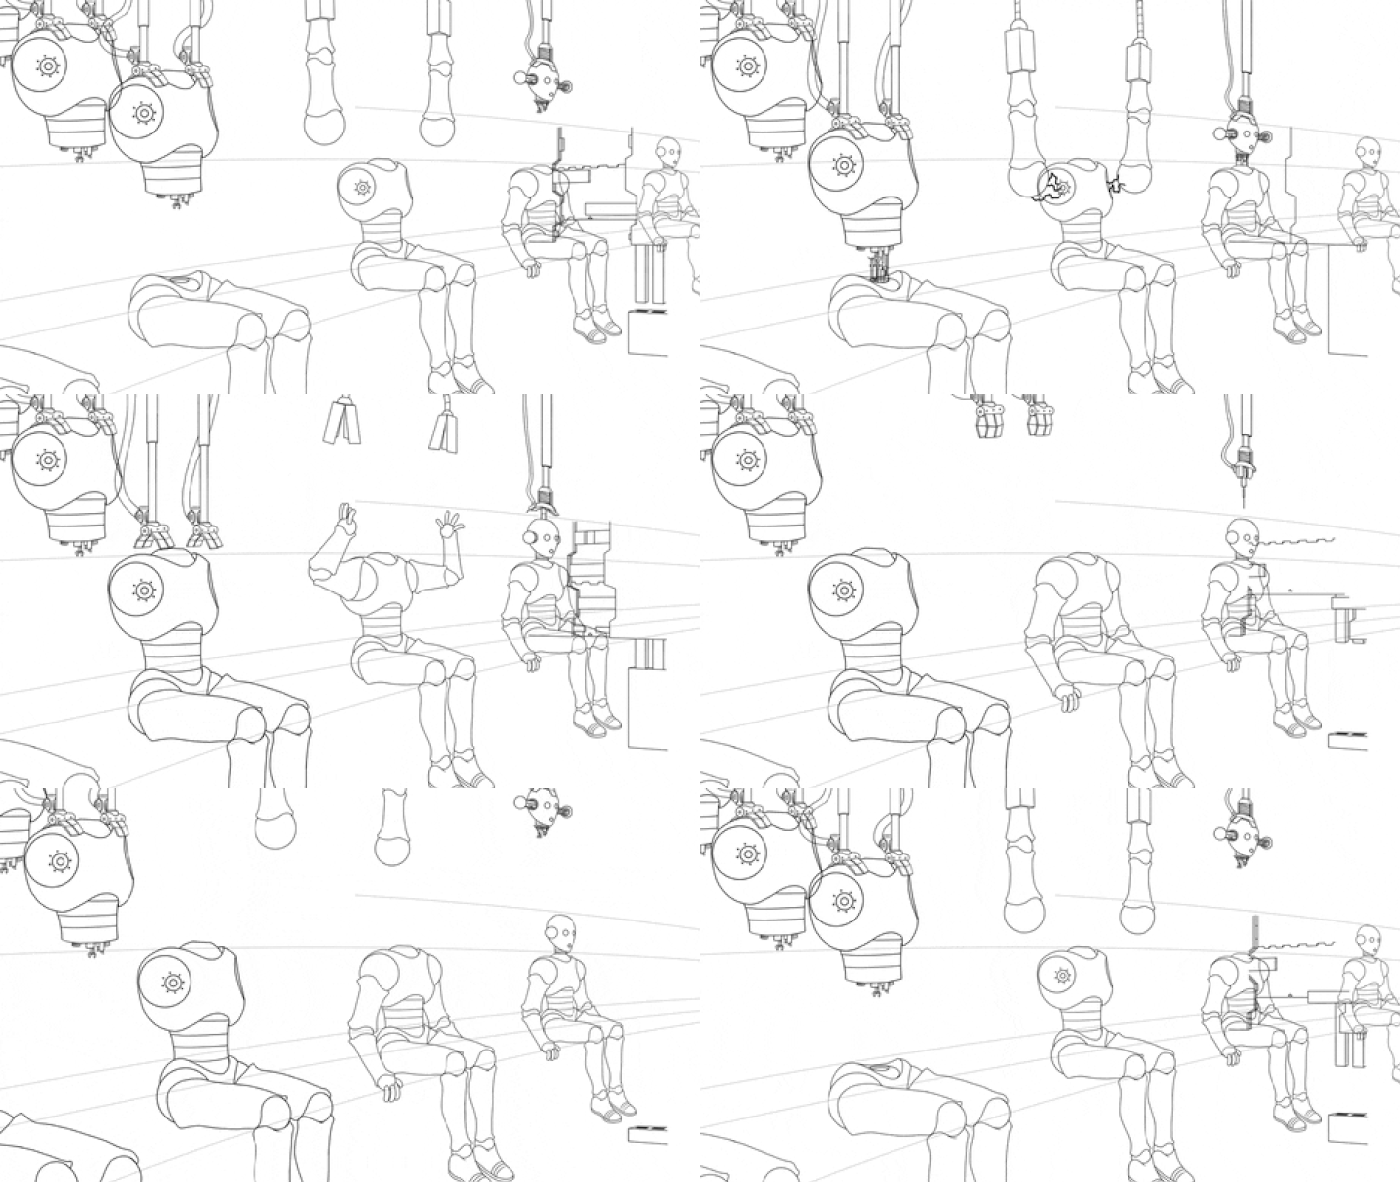
An animator's work is like an assembly line: we create animations gradually, adhering to each step of the process, while still maintaining a creative approach and originality in every detail. Animation by Xavier Degraux.
An animator's work is like an assembly line: we create animations gradually, adhering to each step of the process, while still maintaining a creative approach and originality in every detail. Animation by Xavier Degraux.
I often see animators immediately working with interpolation, merging the blocking and spline stages. This approach is not recommended as it increases development time. It will then become difficult to make adjustments to poses after feedback and edit timing. There's also a high likelihood that the animation's idea will be lost. However, there are undoubtedly situations when one can directly move to splines. For example, when working on a character's basic idle breathing animation.
28 Animation Principles
Many are familiar with Disney's 12 principles of animation, yet today, 28 animation principles are considered relevant. It's not about the number; we don't aim to add as many principles as possible to complicate our work. On the contrary, these laws and rules simplify our daily routine significantly. The classical 12 principles of Disney are somewhat general and encompass a wide array of aspects. For example, solid drawing initially implied excellent drawing skills and an understanding of anatomy. However, with so many technical approaches, genres, and styles available now, this principle sounds too general. That's why many principles have been further divided and specified.
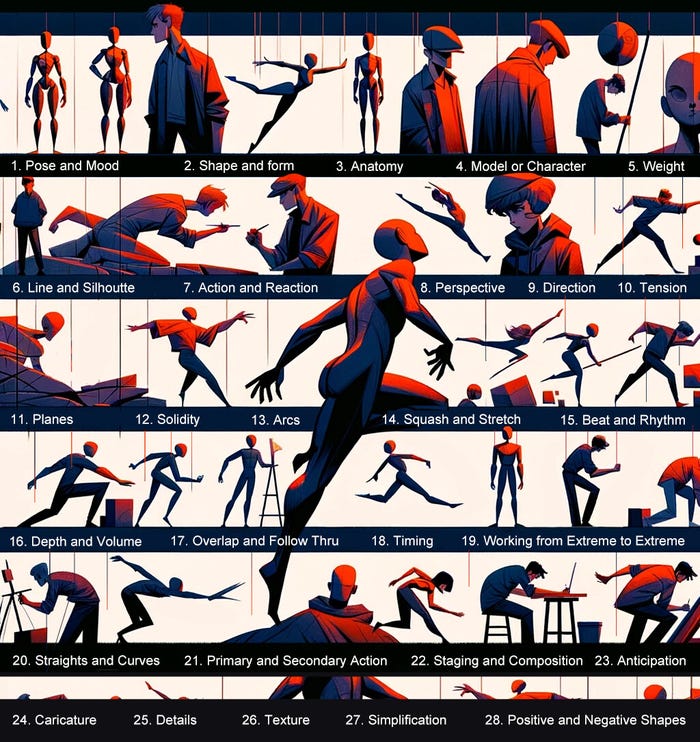
The list of animation principles can vary depending on the project or genre. However, in my opinion, this list is most optimal at the moment. The animation principles applied are based on materials from the book 'Drawn to Life' by Walt Stanchfield, Don Hahn.
The list of animation principles can vary depending on the project or genre. However, in my opinion, this list is most optimal at the moment. The animation principles applied are based on materials from the book 'Drawn to Life' by Walt Stanchfield, Don Hahn.
The most crucial aspect when working with animation principles is a sense of balance. Such skill is developed only with experience and exposure. For instance, a sign of poor and unbalanced animation is the incorrect interpretation of the squash and stretch principle. Sometimes animators simply scale the main bone of the character, resulting in the character turning into jelly. And more often than not, the animator argues, "But it's such an animation principle, I did everything right!" It's important to understand that these principles originated in the era of classical hand-drawn animation, where animators meticulously worked on the compression and stretching of muscles.
In our time, when working with skeletal animation, it is crucial to consider how changes to one bone affect the entire body of the character. Compressing the root bone leads to an unnatural effect. Tip: do not compress bones by more than 20%. Take into account the anatomy of the character, its bones, and muscles.
The topic of animation principles is so vast that it deserves a separate discussion, enriched with examples and illustrations. Below is an image that demonstrates both classical and modern principles, allowing for a deeper understanding of their significance and application in various aspects of animation.
Body Mechanics, Weight, and Anatomy: Imbalance in Posture and Collisions with Invisible Walls
When animating characters, especially stylized ones, it's essential to consider anatomical plausibility and the laws of physics. Even the most fantastical character has an internal structure and mechanics that must be acknowledged for the animation to be convincing. For instance, overlooking the weight of a stylized character's large head can render its movements implausible and shatter the illusion of a living being.
IMPROVING ANIMATION: WHAT TO FOCUS ON
I continue to uncover the characteristics of errors in animation and discuss their solutions.
Acting
Character poses need to be simpler, and the silhouette cleaner. Trying to fit too many actions into one animation often results in unclear character performance. A parallel can be drawn with painting. A limited palette offers a balanced result, unlike using all colors in one piece.
In animation, it's the same: we need to focus on a few key poses that clearly show the character's state. This is especially important in the dynamics of gameplay in mobile games, where the player doesn't have time to scrutinize a bunch of small, chaotic movements. Each pose must be instantly readable.
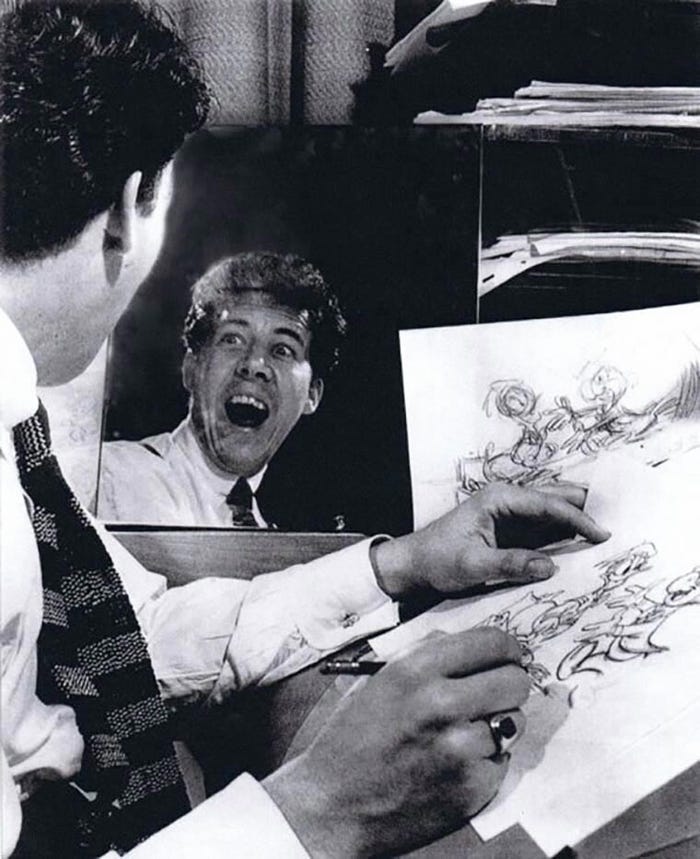
To make a character come alive on screen, you need to become them.
To make a character come alive on screen, you need to become them.
Additional details (clothing elements, hair, etc.) don't tell the story. As viewers, we focus on the character's poses and facial expressions. We are not interested in how beautifully a feather on a pirate's hat moved. Instead, we want to know the character's motivation, what drives them. Sometimes animators get too caught up in micro-movements, forgetting about the essence of the animation task.
Speaking of character acting, I must mention one of the strangest errors - "crazy eyes." I don't know why, but often animators don't adjust the eyelids of characters, leaving them in their initial position. As a result, we have complete madness in the character's look in the simplest emotions. To avoid this, you need to use the eyelids, covering the iris when there is no need to show emotional excitement.

The gaze on the left is the basic position in the character rig. Often, beginner animators leave the eyes in such a position, even if the task is to make a calm idle cycle (without surprise). On the right, however, controllers are used to create a neutral look.
The gaze on the left is the basic position in the character rig. Often, beginner animators leave the eyes in such a position, even if the task is to make a calm idle cycle (without surprise). On the right, however, controllers are used to create a neutral look.
Graph Editor and Interpolation
The Graph Editor in animation is a tool that allows animators to precisely control the motion and timing of animations through a visual representation of animation curves or graphs. Each curve represents the change of a parameter (such as position, rotation, or scale) of a character or object over time, providing the animator with full control over the nuances of movement.
When I first started my career as an animator, the sight of the graph editor intimidated me. The interface indeed looks like a vast mathematical machine, and it seems impossible to understand this endless array of lines. However, if you spend time to figure it out, the graph editor becomes your best friend. Thanks to the graph editor, we can work with the dynamics and timing of the animation, making movements more vivid.
I can understand animation without even looking at it directly, just by looking at the graph editor. It's like reading music notes by a musician who can capture the rhythm and mood of the composition without hearing its sound. The graph editor reveals the inner mechanics of animation just as notes express the essence of a melody.
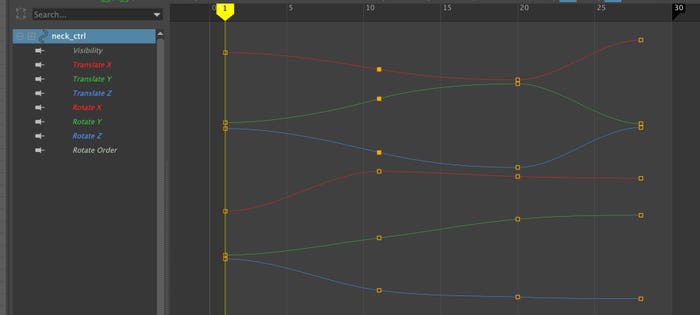
Visual graphs on the timeline show the dynamics of changes between keyframes. Each controller has parameters for movement, rotations, and scale. As much as one might like to deny it, creativity sometimes hides a clear mathematical structure.
Visual graphs on the timeline show the dynamics of changes between keyframes. Each controller has parameters for movement, rotations, and scale. As much as one might like to deny it, creativity sometimes hides a clear mathematical structure.
Feedback
Feedback is extremely valuable. If an animation segment is truly importa


